Set up environments
An environment is a named deployment context: development, staging, production. Environments differ — dev runs everything on one box, production spreads across a cluster — so each gets its own view of what runs where. The deployment viewer has an environment selector to flip between them.
Step 1 — Add an environment
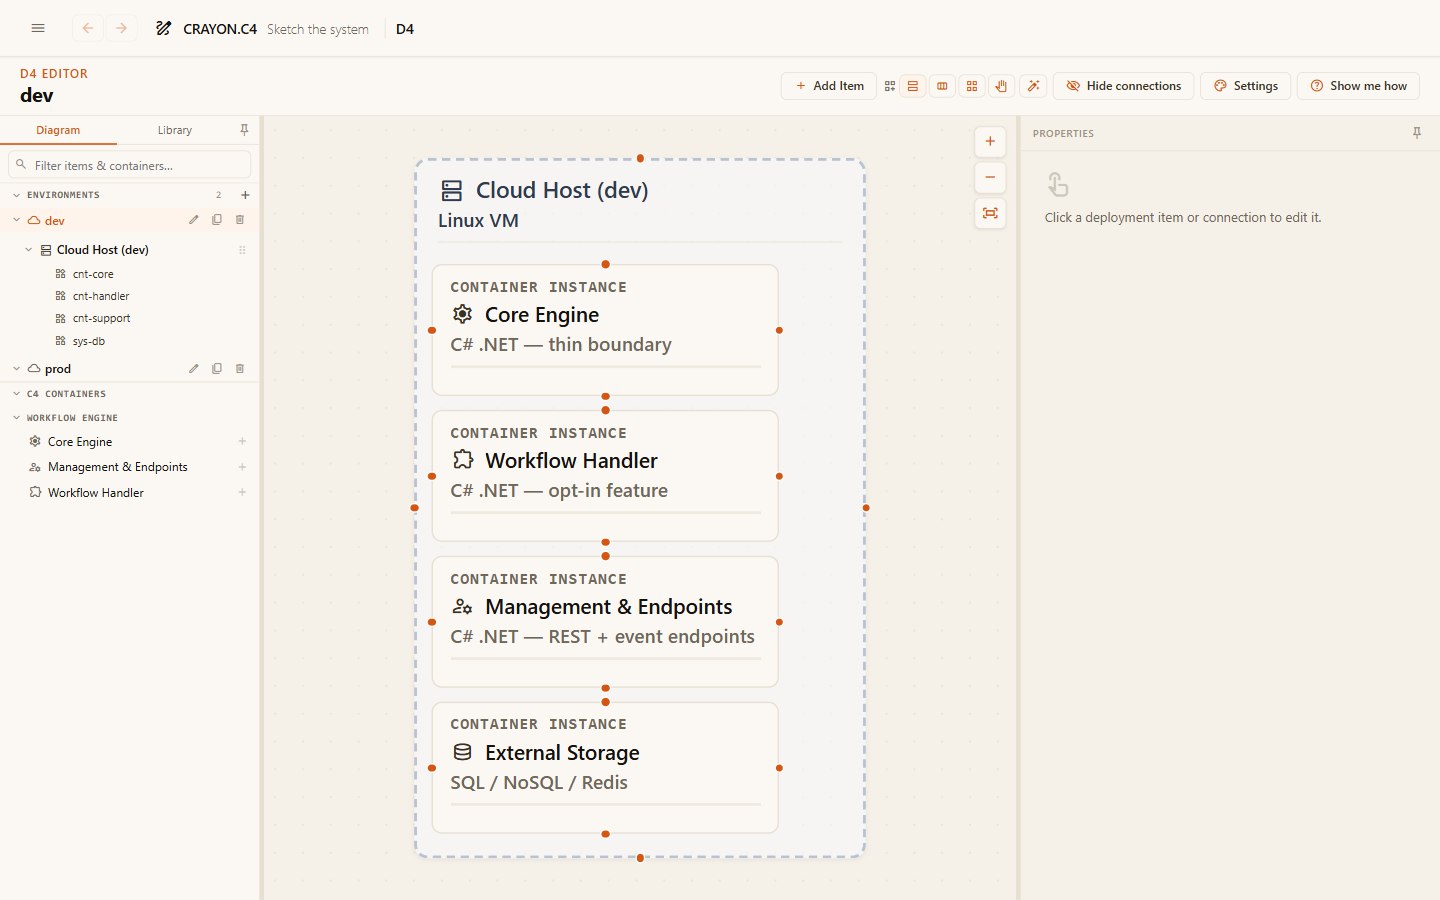
Open the Deployment editor from the menu. Add an environment per deployment context you want to describe. Name them what your team calls them ("Production", "Staging", "Dev laptop").
Step 2 — Build its contents
Build each environment's contents separately — the next guide covers nodes and instances.
Step 3 — Switch in the viewer
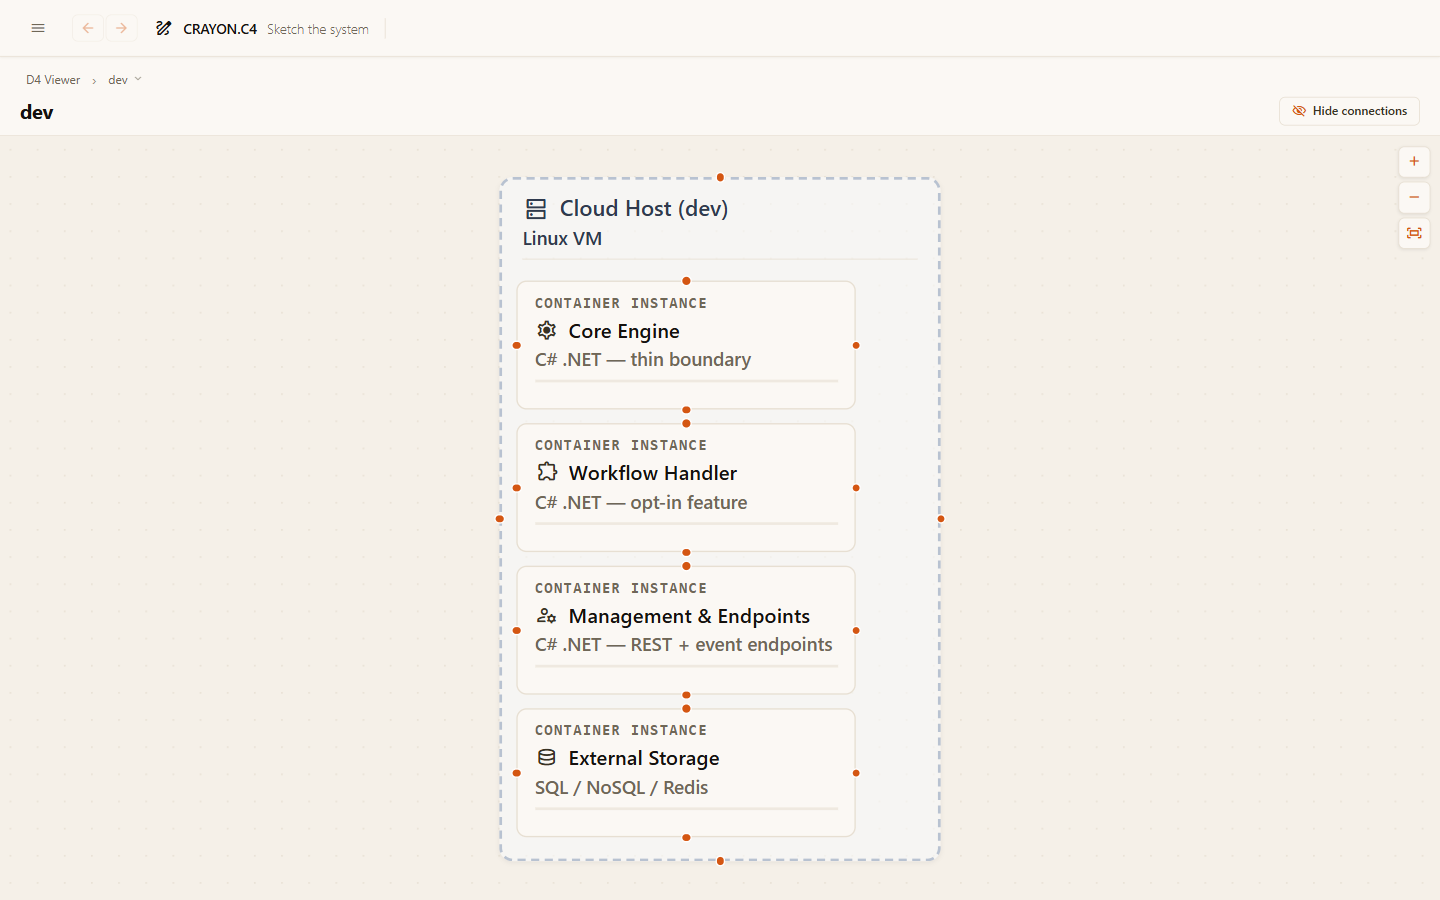
In the viewer, the environment selector in the title bar switches the whole canvas to that environment's topology.
Rename an environment
Click the edit icon next to an environment name in the left pane to rename it inline. The name is what you call the deployment context; keep it short and clear ("Production", "Staging", "Dev").
Delete an environment
Click the delete icon next to an environment to remove it. If the environment contains deployment nodes or instances, a confirmation dialog shows you what will be deleted. You cannot undo a delete; if you're uncertain, use Copy to make a backup first.
Copy an environment
If two environments are mostly the same — staging mirrors production, or you're adding a new region — duplicate one environment and edit the copy. In the editor, select an environment in the left pane and choose Copy from its menu.
A dialog opens asking for the new environment name and which items to link in the copy. Any item you select will become a linked instance — changes to it in the source environment will update the copy automatically. Items you leave unchecked will be independent copies with their own lifecycle.
When you copy, already-linked items (from a prior linked-instance copy) are locked and always included in the new linked set; you can only choose whether to link previously independent items.
After copying, you get a new environment with all its nodes and instances duplicated; adjust names, instances counts, or deployment groups as needed.
Zoom between abstraction levels
A deployment diagram has four abstraction levels, and they are all the same kind of thing — the level control in the title bar always offers all four, because you define a level by standing on it.
- One rule governs every level: it closes every box marked at it or deeper, showing nothing inside, however many nesting depths that hides. Boxes you left unmarked never collapse on their own. So the extremes are just that rule's ends — mark every outer box at level 1 and it reads as the whole environment at a glance; mark nothing at level 4 and it draws everything open, which is where editing happens. "Minimal" and "Full" are only the default names of the first and last.
- The number orders the ladder, so levels can never be mixed up. Each level's name is per diagram and purely for reading: double-click a level button to rename it ("Cluster", "Namespace", "Host"). Renaming never re-points an item — it still sits on the same number.
- Any box that holds something can carry a level, including a container or system instance. Only a box with nothing inside it is off-limits: closing it would look exactly like leaving it open.
Saying what a level shows
There are two ways round, and they write the same thing.
- The planner (the tree button on the level control) lays out the environment's containment tree and lets you assign levels against it. It offers only the levels that would actually take effect — a mark no coarser than one an enclosing box already closes at can never be reached — and says plainly why a mark does nothing. Long trees fold branch by branch, and stay as you left them. The item's own properties pane offers exactly the same choices.
- Or arrange the diagram and keep it. Use Collapse all, open the few boundaries you want to see, then press the level button to define a level from what is on screen. You get a review of everything that will change first, including anything that reaches other levels or environments.
Opening a box by hand is a look, not an edit: the control shows how many boxes you have opened or closed, and stepping to another level asks whether to keep them as a level rather than dropping them silently.
What each level remembers
- Connections into a closed box merge into one line per pair. A lone rolled-up line keeps its own label; several read
[*]— select the line and give the pair a label on this level, which shows in every environment that draws the same pair. - Arrange each level to taste: drag any visible box — a top-level card on the canvas, or a child inside an open one — and resize closed cards by their handles.
- Lines are yours per level too: drag a line to bend it, drag its label along it, and pick which side of each box its ends meet in the connection's pane.
All of that geometry belongs to that level only, survives reload and the viewer, and never touches the detailed diagram. Reset level layout (next to the control) returns a level to automatic.
In the read-only viewer you step the same ladder, and clicking a connection shows what it says — label, technology, description and both ends — for a rolled-up line as readily as a stored one.
The document export prints one figure per level in use, alongside the detailed diagram.
One view per environment — why
A single diagram claiming to cover all environments either misrepresents some of them or drowns in conditionals. When environments diverge (and they always do), separate views keep each one honest. Repetition between them is fine — it's the differences that carry information.
Where next
- Place nodes & instances — fill an environment with infrastructure and instances.
- Connect the infrastructure — show what talks to what.
- The deployment model — the thinking behind the diagram.