Containers & drill-down
C4 is zoomable: context → container → component → code. Each level shows the inside of one element from the level above, and CRAYON-C4 keeps each level on its own canvas (a layer) so you never mix abstractions. This guide shows how to model the container level and navigate the zoom.
Step 1 — Create the inside layer
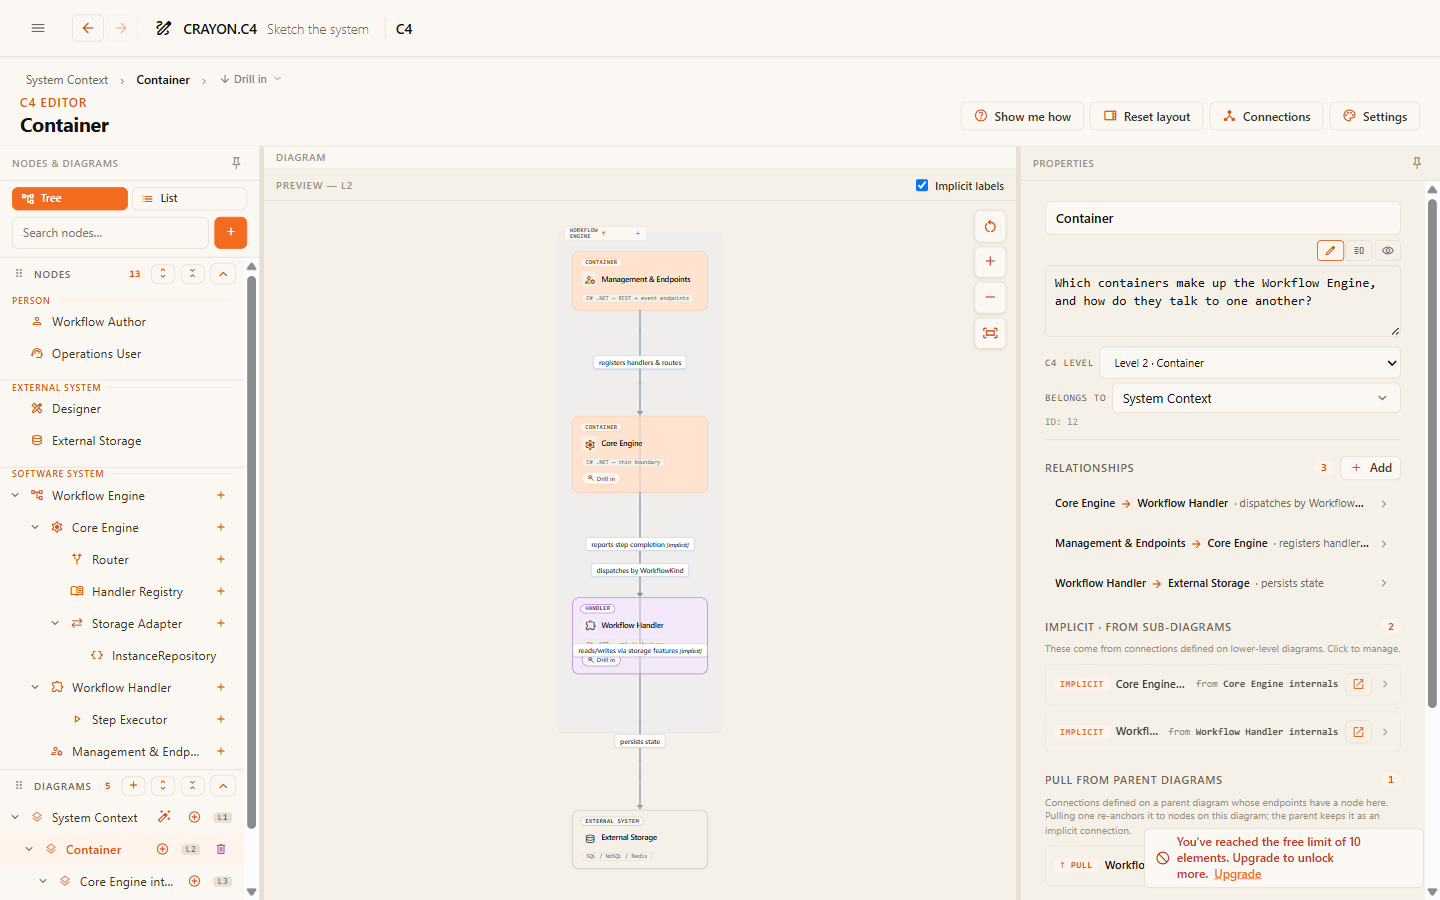
In the editor, create a new layer for the inside of your system, and set the system element's zoom target to that layer. The system box is now a door: readers can open it.
Step 2 — Model the containers
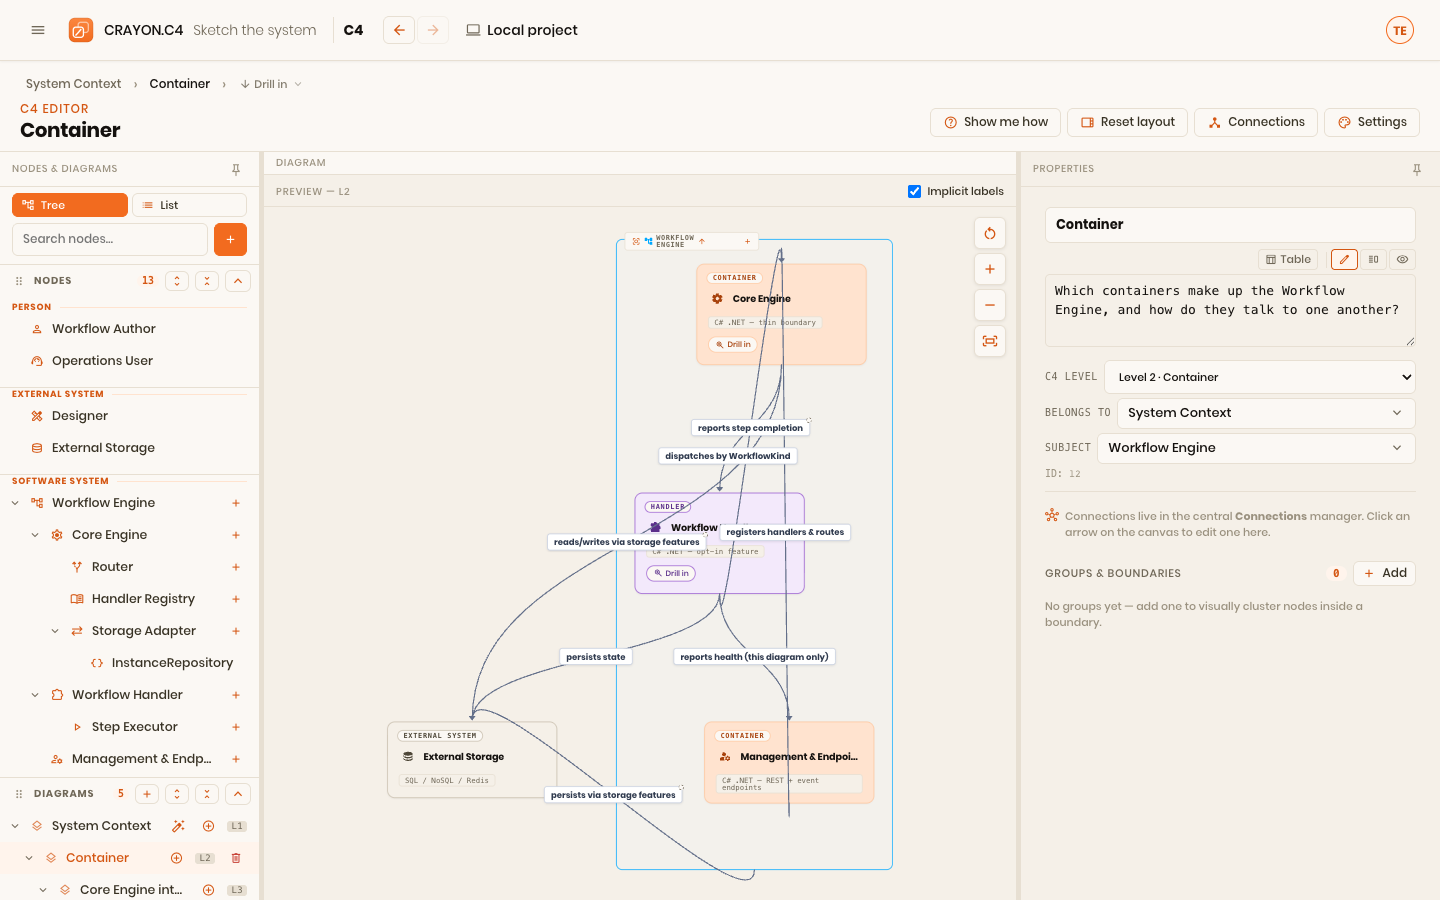
On the new layer, add Container elements — the separately runnable or deployable parts: a web app, an API, a database, a message broker. State each one's technology in its description.
Step 3 — Drill down and back up
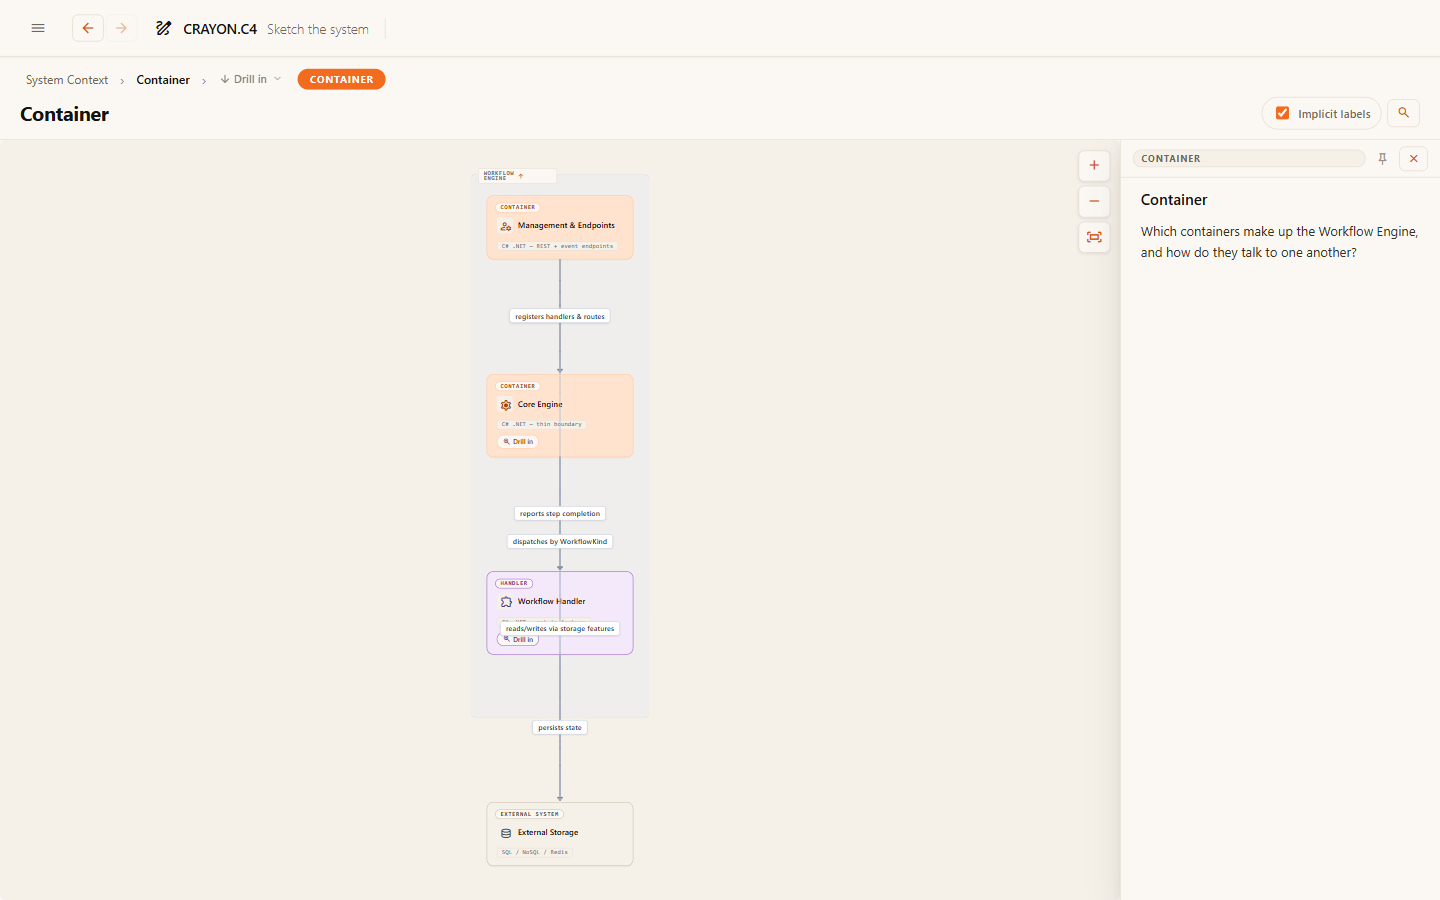
In the viewer, click into the system element to drill down to its container layer. The breadcrumb at the top shows where you are; use it to climb back out.
Show drilling from the demo's context level into the container layer and back out via the breadcrumb: click the system node, point out the layer change and breadcrumb trail, then return to context. Key moments: the click target on the node, the breadcrumb after the drill, the return click.
Faster way: the wand
If you already have a system element and a list of its containers, you don't need to create the layer manually. Right-click the canvas and choose "Wand: all diagrams" — CRAYON-C4 will build the container layer (and component and code layers) for every system in your model at once. Your system element becomes a drillable door; each container appears on its own canvas ready to connect.
If you prefer to populate just one diagram at a time, use "Wand: this diagram" instead. It adds all the containers (or components, depending on the layer) that relate to the diagram's subject, without removing anything already there.
Related elements are rolled up to the highest level that makes sense: a neighbour outside the subject's own system appears as its own top-level element, and a finer card is never drawn beside a parent that is already on the diagram. Re-running the wand replaces a stale, too-fine card left over from an earlier run with the correct one.
The wand is the fastest path from a flat list of elements to a complete multi-level model. It never deletes your own work or moves anything you arranged, so you can refine the result afterward without fear of losing anything.
In the left tree, each layer row carries a wand icon button ("Fill diagram structure") — clicking it scaffolds the drill-down structure from that layer in one step. On the canvas, both wands live in the right-click menu ("Wand: this diagram" / "Wand: all diagrams").
Manual groups and boundaries
A group is a visual container that clusters nodes on a diagram. Groups are useful for showing subsystems, functional areas, or ownership boundaries without adding a new element to the model.
Create a group: in the right panel, under "Groups & Boundaries", click Add. A new group appears on the canvas as an empty rectangle, and a row for it appears in the groups list.
Rename it: click the group label in the right panel and type a new name.
Describe it: a group has a Description field — markdown, like an element's. It shows in the viewer's side panel and in the exported document, so a boundary that stands for something ("everything the payments team owns") can say so.
Add members: use the "Add member" dropdown on the group's row to select elements on the diagram. Multiple groups can organize different subsets of the same elements (e.g., one group for "backend services", another for "team-owned").
Link to a diagram: every group can optionally drill into a diagram (like elements do). Use the "Linked diagram" picker to point it to another layer. In the viewer, clicking the group's boundary will drill down.
Change appearance: assign a display type to the group to apply a custom color and style (the same styles used by element types; see Styling and appearance).
Remove members: click the × beside a member tag to remove just that element from the group (the element stays on the diagram).
Delete the group: click the delete button. Member nodes are unaffected.
Move and resize it on the canvas: by default a group's frame automatically hugs its members. Drag the small handle on the group's label chip to move the whole group — its members (and any nested groups) travel with it. Select the group and drag the resize handles to give it a manual size instead; the size is remembered with your layout, and if you shrink the frame below its content, the members are drawn back inside it. The chip's auto-fit button returns the group to automatic sizing.
A group's members are derived strictly from the list you build; there is no auto-inference. If you delete all members, the group remains (empty) until you explicitly delete the group itself.
Setting the diagram's level and details
In the right panel, the Layer Editor lets you configure the diagram itself:
Diagram name — the display label shown in the breadcrumb and layer list.
Description — markdown explaining the diagram's purpose, shown in the side panel of the viewer.
C4 level — pick the level (System Context, Container, Component, Code, or Dynamic / sequence) so other diagrams know what this canvas represents. An unset level triggers a warning; this helps catch drafts left incomplete.
Belongs to — set the parent layer if this diagram is a child (e.g., a Container layer belongs to a System Context). The hierarchy is used by zoom navigation and the wand.
Node editing and removal
When you select an element on the canvas, its form appears on the right.
Name — the element's label on all diagrams.
Short description — a one-line phrase shown under the name on the diagram card (plain text only).
Description — full markdown, shown in the side panel of the viewer.
Icon — pick a Material Symbols icon to customize the element's appearance.
Element type — Person, External System, Software System, Container, or Component. Changing the type validates containment rules (you can't make a Component a top-level System, for example).
Display type — optionally override the element type's colors and style with a custom display type (see Styling and appearance).
Parent — if the element requires a parent (Components must live inside a Container), use this picker to set or change it. A dangling parent reference will warn you.
Technology — optional technology stack (e.g. "C# .NET", "React", "PostgreSQL").
Drills into diagram — set a zoom target to make this element clickable in the viewer. Select any layer to drill into it.
Appears on — shows every diagram where this element is placed. Click the → button beside any diagram to jump to it.
Remove from this diagram — a button that appears if the element is on the currently displayed diagram. Clicking it removes the element from only this diagram; the element itself and all its relationships stay in the model. This is different from deleting the element entirely.
Deleting diagrams and elements
Delete a diagram: use the delete button on the layer's row in the left tree. If the diagram has children, a dialog asks what to do with them:
- Delete diagram + children — remove the whole subtree from the model (including relationships involving the deleted elements).
- Delete only this — reparent children up — remove just this diagram and move its children up to its parent so they're not orphaned.
You can't undo this action, so double-check which option you want.
Delete an element: right-click an element on the canvas and choose Delete (or use the delete button in its form). A confirm dialog shows how many descendants and relationships will be affected so you know the scope of the deletion.
Relationships climb the zoom
Relationships you draw between containers automatically surface on the level above as connections between their parent systems — so the coarse view always agrees with the fine one. You'll see these as implicit connections; they're one of the quiet payoffs of keeping every level in one model.
The one rule
One level per canvas. Don't put components on your container layer. This is the most common C4 mistake, and the level separation exists to prevent it. A canvas crowded with boxes of mixed granularity means you've drifted across a level boundary — split it.
Which levels you actually need
| Level | Draw it? |
|---|---|
| Context | Almost always |
| Container | Almost always |
| Component | For containers complex enough to warrant it |
| Code | Rarely — model it only where it earns its keep |
Where next
- Components & code — when one container deserves its own inside view.
- The deployment model — these containers, placed onto infrastructure.