Shape a connection by hand
Every connection routes itself. The diagram picks which side of each card the line leaves from, finds a path between the two, and keeps it clear of whatever is in the way. That is the right default and on most diagrams you never think about it.
Sometimes you know better. A line should run straight down a column, or take the corridor around the group instead of through the gap in it, or its label should sit where it isn't crowded. This page covers every way to say so — and, just as important, how to hand each decision back.
Where this works: the C4 editor and the deployment editor, with the same gestures on both. F4 boards share the sides control but route their lanes themselves. Viewers draw a hand-shaped line exactly as you left it and offer no handles — nobody reading a diagram can nudge it.
The one rule worth knowing first
Shaping a line is a decision about a diagram, not about your model. A C4 relationship is one fact about your architecture and it is drawn on every diagram where both of its elements appear — so the corridor that reads well on the container diagram is rarely the one that reads well on the context diagram above it. Each diagram therefore remembers its own sides, its own route and its own label position, and none of it changes the connection itself.
Nothing here is destructive, and every piece of it has a one-click way back.
Where the controls live
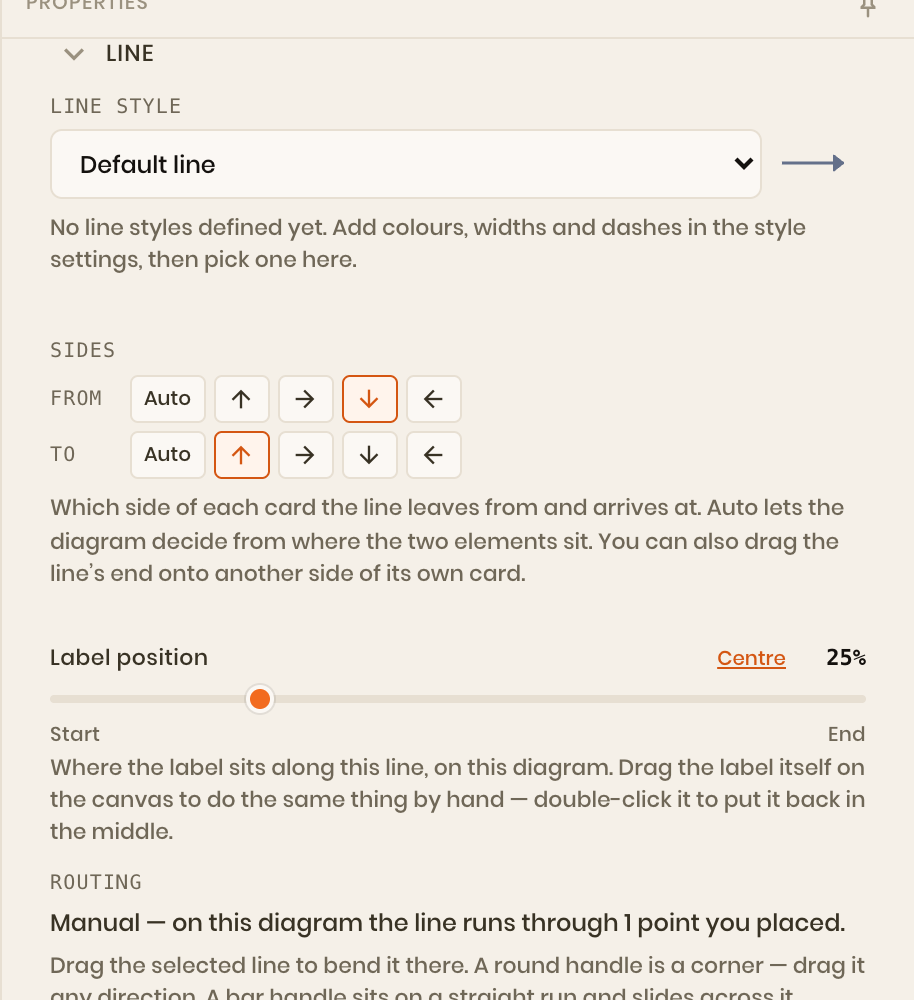
Select a connection — click its line, or its label — and the details pane opens with a Line section directly under the From/To endpoints. Everything on this page is either in that section or a gesture on the line itself.
Choose which side a line attaches to
Each end can be pinned: Auto, Top, Right, Bottom, or Left. Auto isn't a value — it clears the choice and hands the side back to the diagram, which is the state of every line you have never touched.
Two ways to set it:
- In the pane — the Sides control, one row per end (From / To).
- On the canvas — drag the line's end onto the side of its own card you want it to use. Dragging it onto a different card still re-points the connection, as it always did.
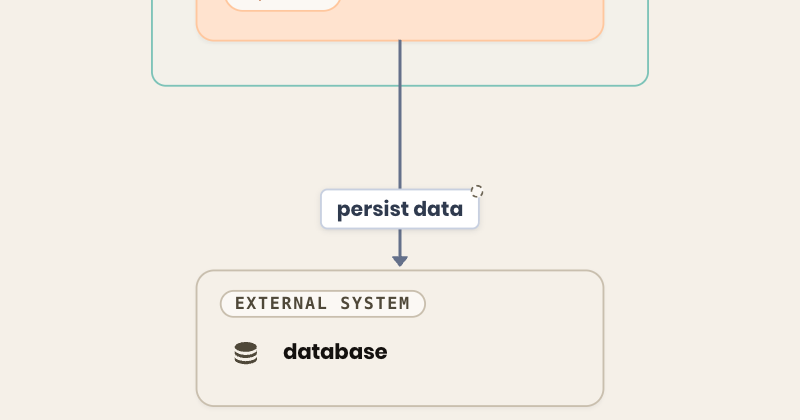
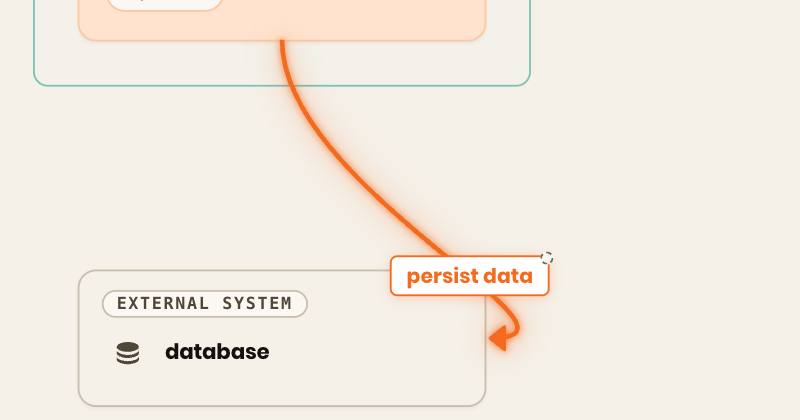
Use it when the automatic choice fights the layout. Below, "persist data" runs from the container straight down into the top of the database — then its To end is pinned to Right, and the line comes round into the side instead:
Route a line through your own corners
The corners you place are the line. There is no hidden second route being negotiated — what you see is what is stored, so what you preview while dragging is exactly what you get when you let go.
Bend a line
Select it, then drag the line anywhere along its length. A corner appears where you pressed and follows the pointer; let go and the line runs through it.
It has to be a drag, not a click: a corner dropped exactly on the line is by definition still in a straight line, and a corner that doesn't bend anything is removed again the moment you release. Pulling it off the line in the same movement is what makes it a corner at all.
Two handles, two jobs
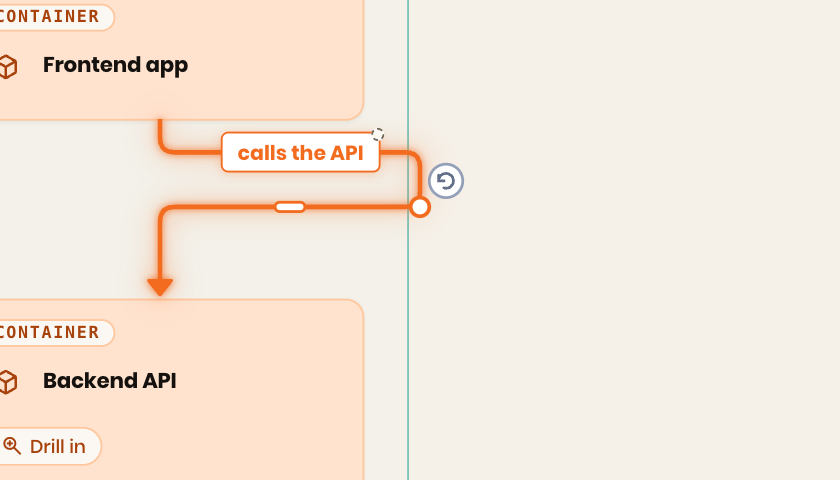
A selected line shows a round dot on every corner. Hover a straight stretch and a bar appears on it. They never turn into one another:
| Handle | What it is | What dragging it does |
|---|---|---|
| ● Dot | A corner you placed | Moves that corner in any direction. Its neighbours take up the slack so the line stays square. |
| ▬ Bar | A straight stretch of the line | Slides that whole stretch sideways, carrying both of its ends. It only moves across itself — which is what the shape is telling you. |
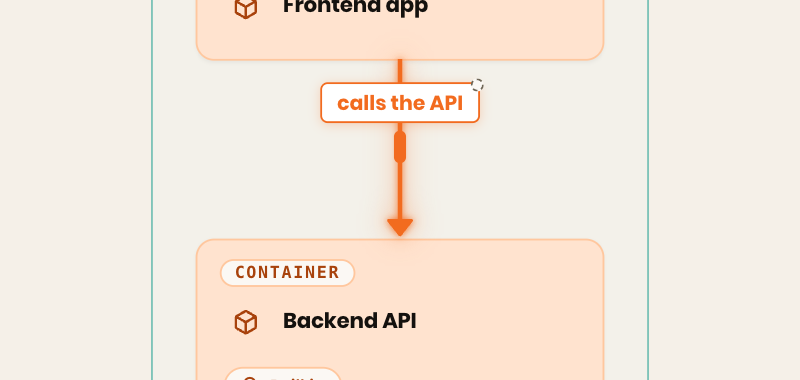
The bar appears on automatic lines too. Dragging one is a perfectly good first move: the line adopts the route already on screen and becomes yours, with nothing jumping.
Remove a corner
Double-click a dot. The bend flips round to the other way of joining the same two runs — so you see it change rather than wonder whether the click registered — and any corner that is left redundant is tidied away.
Remove the last corner and the line goes back to routing itself. That is the same complete undo as the pane button below.
While you drag
- Handles square up with the line's own ends and with each other, and a guide shows what a handle lined up with.
- Hold Alt to place one exactly where the pointer is, ignoring both the squaring-up and the nudge away from other boxes.
- A line never runs over its own two cards. That gap is kept whatever keys you hold — a line touching the border of the box it comes out of just reads as a mistake.
- Three points in a straight line lose the middle one. A corner that bends nothing today would resurface as a corner nobody asked for the next time something moves, so it isn't kept.
Realign, without giving up control
A hand-routed line keeps its corridor when elements move — that is the entire point of routing it yourself, and it is also how a route ends up stale. The ↺ chip on the line re-fits it to the path the diagram would choose now, and the line stays yours.
What going manual also does
The first time you shape a line, the two ends' sides are pinned to whatever they were already using (you'll see them light up in the Sides control). That is why the line stops shifting around as the diagram changes — and it is why "back to automatic" gives them back too.
Put it back to automatic
Three ways, and they all mean the same thing. Back to automatic is one complete undo: it drops the corners and the sides that were pinned when the line went manual, so the line reads exactly like one that had never been touched.
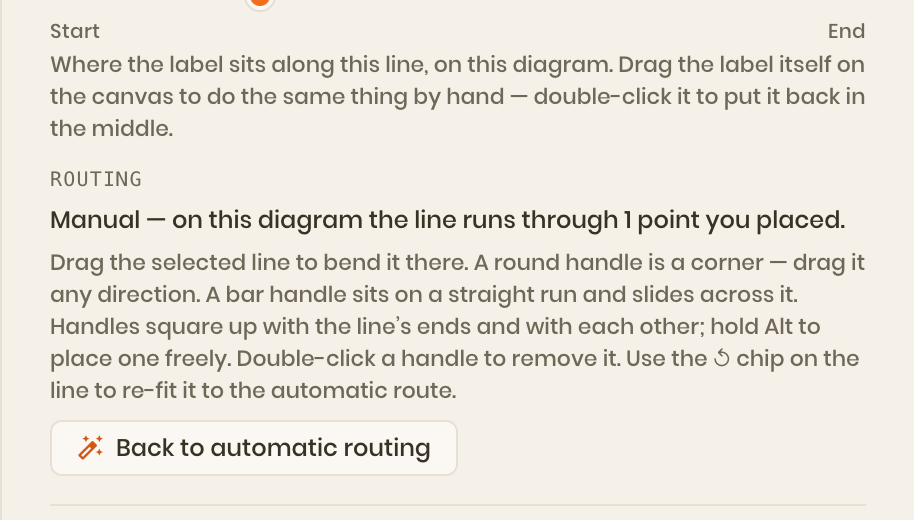
One line — remove its last corner, or use the pane. The Routing readout tells you where the line stands; when it is manual, a button sits under it.
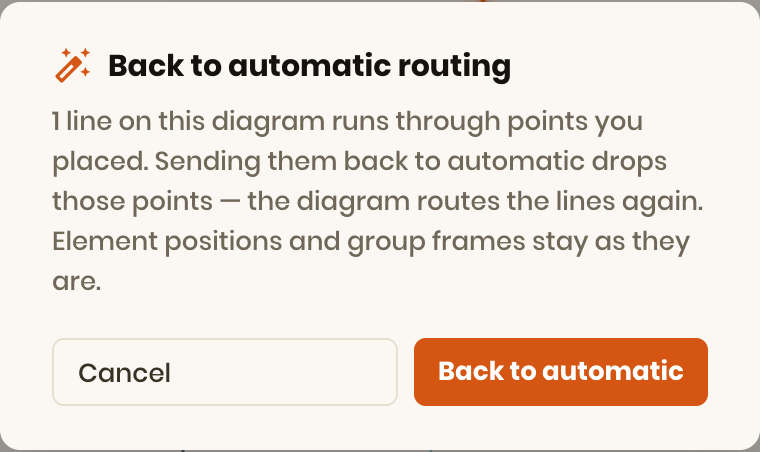
Every line on the diagram — while any line is hand-routed, the diagram header carries a Manual line routes (N) checkbox. Untick it:

You're asked to confirm, because it is the one action here that throws away more than one decision at a time. Element positions and group frames are untouched — where a line runs is a separate decision from where the elements sit.
Auto-arranging the diagram (the ↺ button on the canvas) also clears hand-routed lines, and says so before it does.
Move a connection's label
The label is part of the line, so it moves along it:
- Drag the label and it slides along its own line, wherever the line goes.
- The slider in the Line section does the same thing by number.
- Centre — next to the slider, and shown only once the label is off-centre — puts it back in the middle.
- Double-click the label to open the pane with the Label text selected, ready to retype.
Like a route, a label's position belongs to the diagram it was moved on.
The same gestures on a deployment diagram
Everything above works identically in the deployment editor. Its lines have more to weave through, so hand-routing earns its keep sooner:
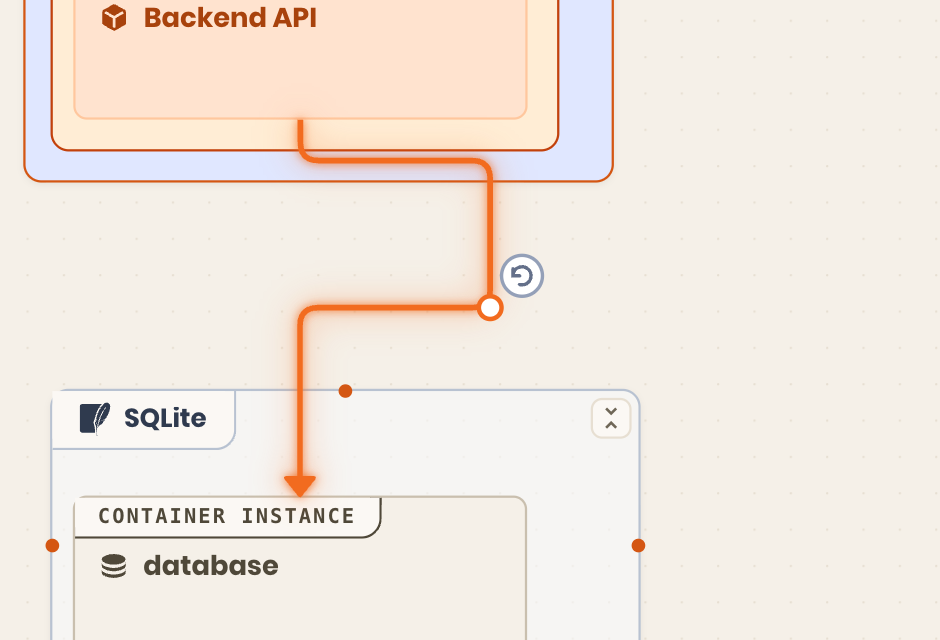
Two differences worth knowing:
- A side is remembered on the connection's own endpoint, not per diagram — a deployment connection lives in one environment, so there is no second diagram to disagree with.
- A line drawn inside an instance is routed once. Connections between two children of the same instance belong to the instance, so the route you draw appears in every copy of that instance, in every environment — exactly like the children it connects.
Best practices
Let it route itself until it's actually wrong. Automatic routes update themselves as the diagram changes; hand-routed ones hold their ground. Every line you shape is a line you may have to re-shape later.
Fix the sides before you place corners. Most "bad" routes are really a line leaving the wrong edge of a card. Pinning From/Bottom and To/Top costs one click and often removes the reason to bend anything.
Bend for meaning, not for tidiness. Good reasons: keeping a line out of a boundary it has nothing to do with, running parallel flows down their own lanes, separating two lines that would otherwise overlap. Weak reason: shaving a few pixels off a corner.
Prefer one corner to four. Each one is a decision the diagram now has to honour. If a line needs a lot of corners, the elements are usually in the wrong places — move them instead.
Move the label rather than the line when the problem is a label sitting on top of something. It's the cheaper fix and it survives layout changes.
When a diagram gets away from you, reset it. Untick Manual line routes (N), let the diagram lay the lines out again, and shape only the two or three that genuinely needed it.
Where next
- Add relationships — the arrows themselves: labels, direction, rolled-up lines.
- Styling and appearance — colour, width and dash, as named line styles.
- Connect the infrastructure — deployment connections end to end.