Add activities and connections
With lanes in place, the flow needs its steps. An activity is one step, placed in the lane of whoever performs it; connections put the steps in order; a connection crossing lanes is a hand-off.
Step 1 — Add activities
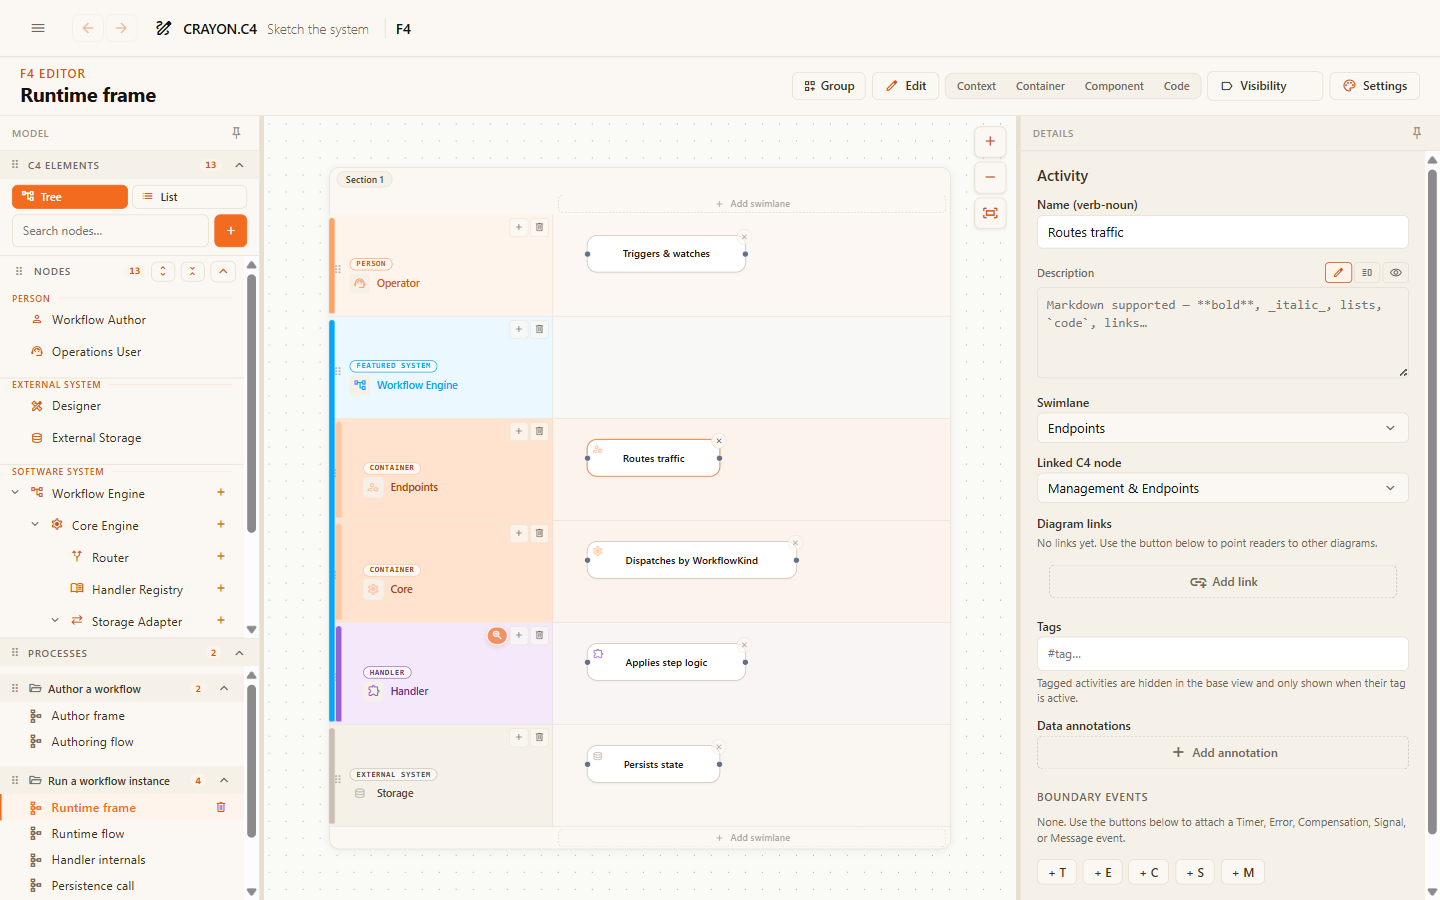
Add activities into their lanes, left to right in the order things happen. Name them verb-first: "Validate claim", "Issue payment". When a new activity is created, its name field in the right pane is focused with the placeholder pre-selected — just type the real name.
Step 2 — Connect in sequence
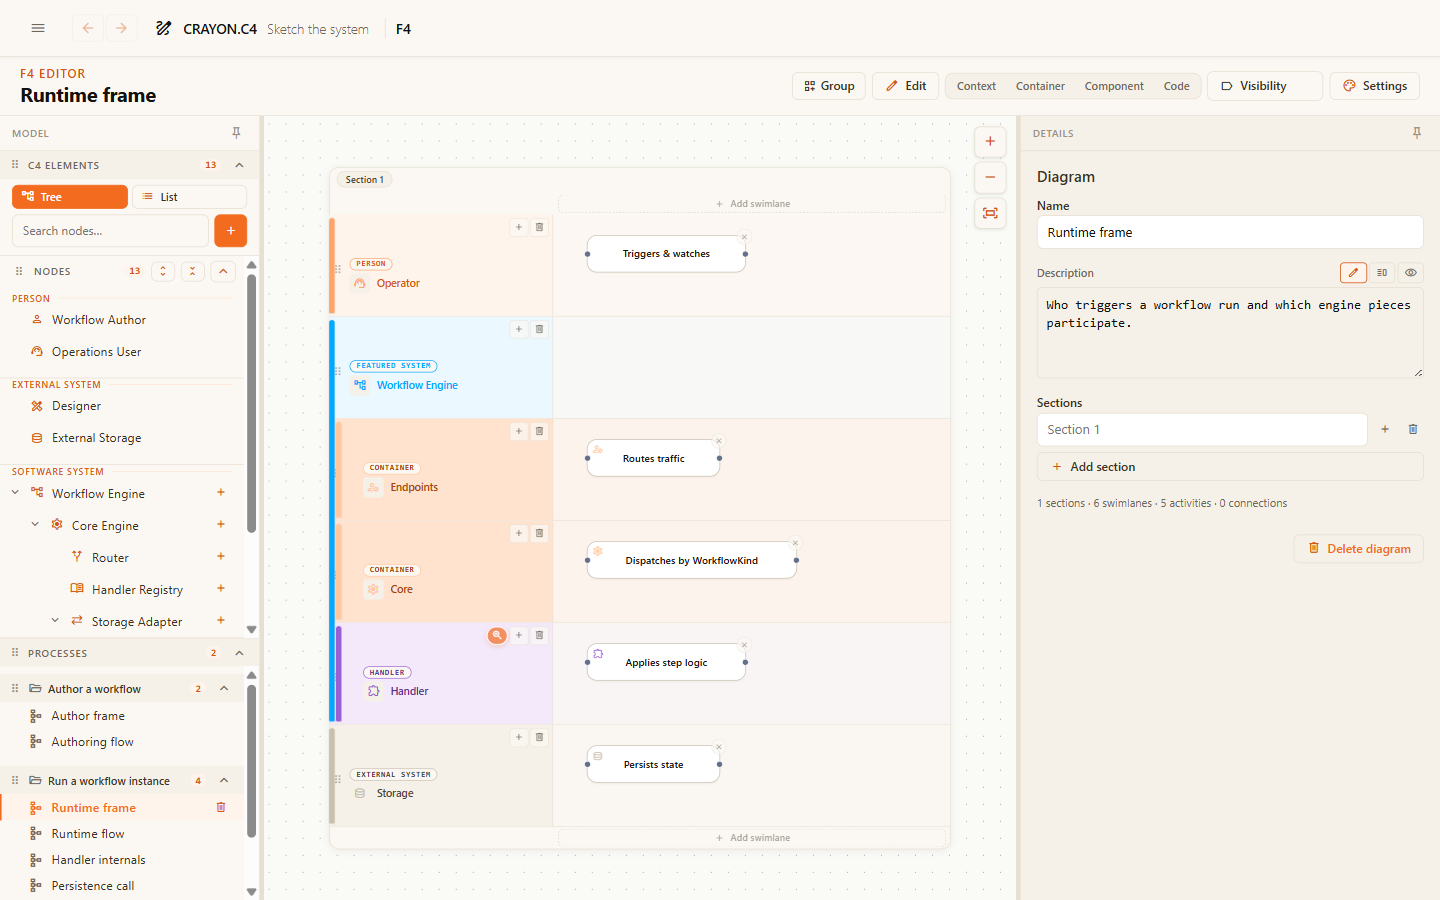
Drag from an activity's connection handle to the next activity. Release on empty lane space instead, and a new connected activity is created in one motion — the fastest way to lay down a chain of steps. Dropping on a particular side of a card attaches the line to that side.
Step 3 — Label the branches
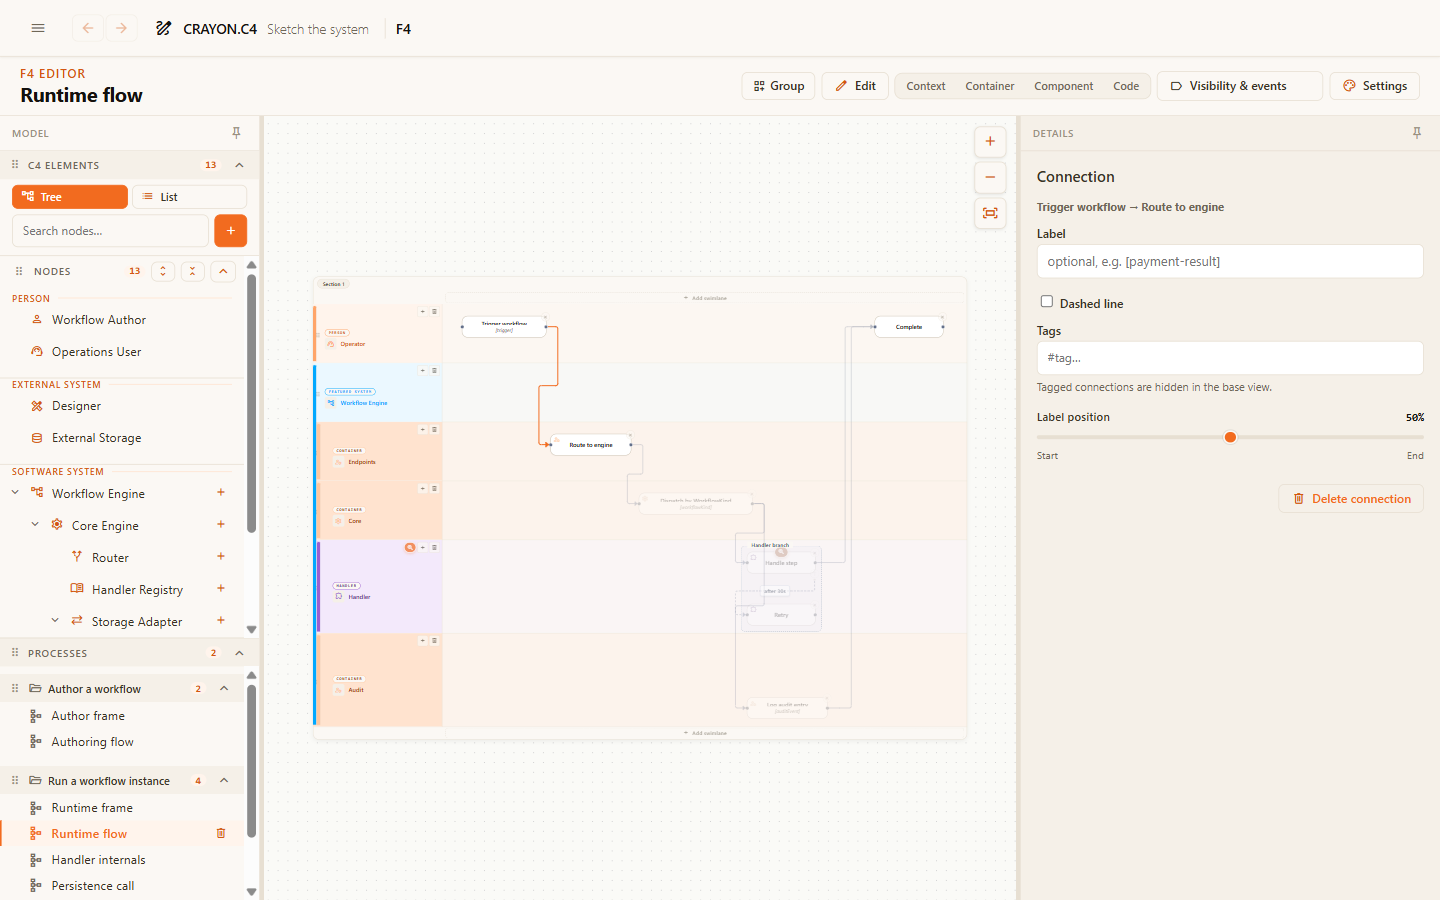
Where the path splits, label each outgoing connection with its outcome — "Approved", "Rejected". An unlabeled branch makes the reader guess.
Show dragging from an activity's connection handle and releasing on empty swimlane space to create a connected activity in one motion, then typing its name in the inline rename. Key moments: handle hover, the drag, the drop on empty space, the pre-selected placeholder text.
Synchronous calls
Not every connection is a hand-off. When a step calls another — the other side does its work, answers, and the caller carries on — drawing flow into that lane and back again tells the wrong story: control never moved. For these, switch the connection's Kind from Flow to Call in its form.
A call draws as one connection with two arrows: a solid request arrow to the callee and a lighter dashed arrow pointing back at the caller. Give the answer a name in the Return label field ("validation result", "audit id") and it appears on the return arrow with a ↩ mark. The caller's next step stays connected to the caller — exactly like the code.
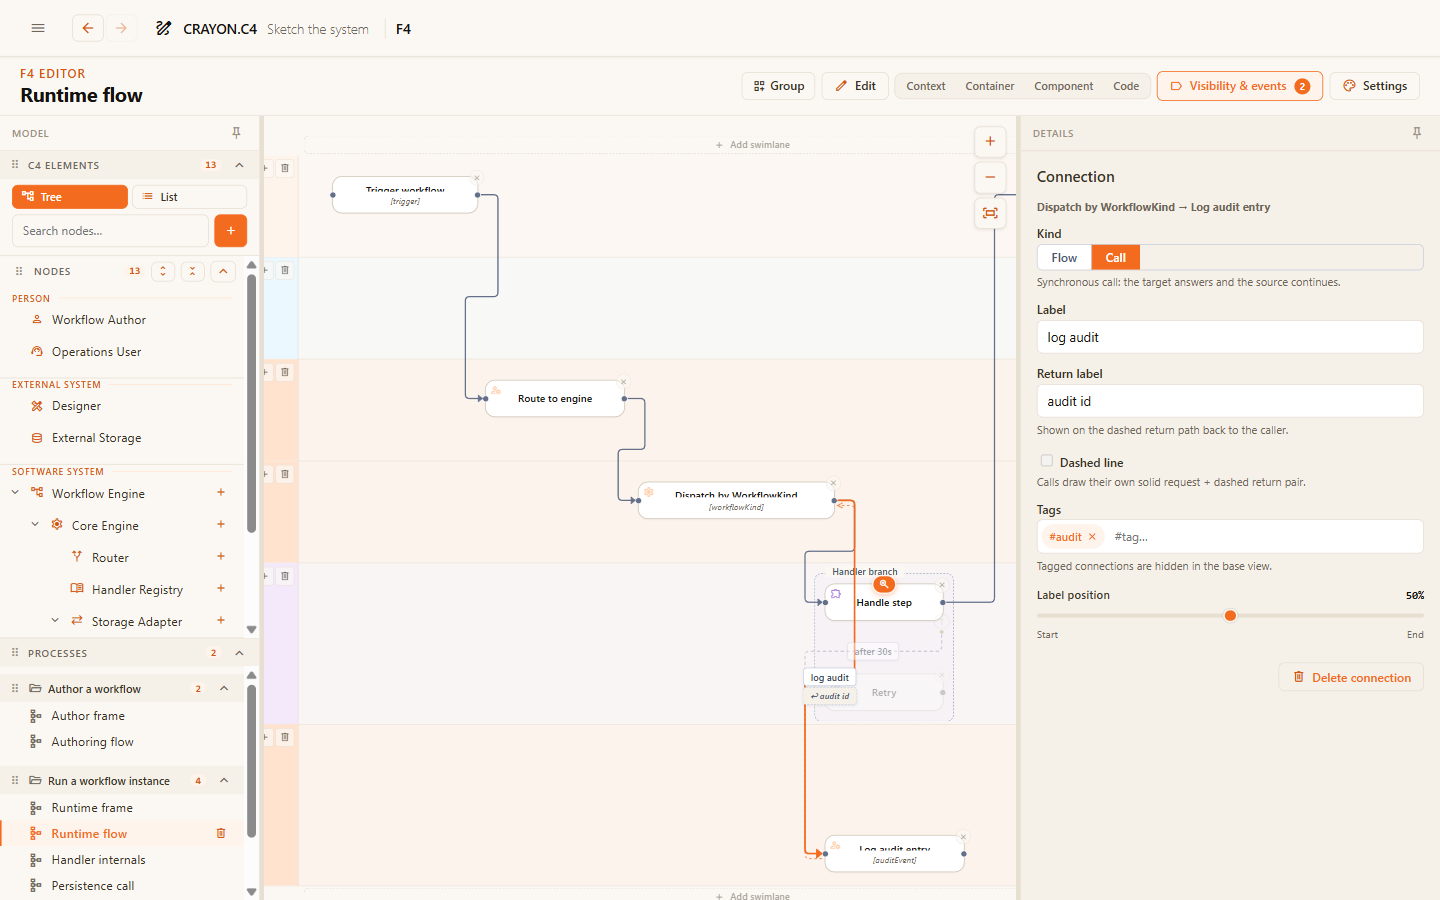
Use Flow when responsibility moves to the target ("then the handler takes over"). Use Call when the source just needs an answer before continuing ("look this up, then proceed"). Boundary-event exit paths are always flows — an interruption can't wait for an answer.
Connection form extras
Open a connection's form to configure:
- Kind — toggle between Flow (a hand-off to the next lane) and Call (a synchronous request-response to another lane). Calls draw as solid request + dashed return arrows. Switching kind never moves where the line attaches: an end you pinned stays pinned, and an end on Auto stays on Auto, free to re-read the layout if that reads better.
- Label — text shown on the edge (e.g.
[payment-result], "Approved", "Rejected"). Branch outcomes especially benefit from labels. - Return label (calls only) — the label on the return arrow back to the caller (e.g. "validation result", "audit id" with a ↩ symbol). It is drawn just below the request's own label, so the pair reads as one connection said twice.
- Line style — the kind of line this is: Default line, or any style your project defines (colour, width, solid/dashed/dotted, arrowhead). This is how a line is made dashed — define an Async or Optional style once and every diagram that uses it reads the same. See Connection line styles. Two dashes are drawn for you and are not style choices: a boundary-event exit path and a call's return arrow — both say what the line means.
- Label position — drag the slider to move the label along the edge (left to right, or top to bottom depending on edge direction). Helps untangle overlapping labels.
- Sides — which face of each card the line leaves from and arrives at. Auto (the default) takes the shortest route; pin an end when you want the line somewhere else. Dragging the line's end onto a card's side does the same thing on the canvas.
- From / To pickers — change the source or target activity without deleting and recreating the connection. The connection ID and metadata stay the same, so you preserve history and notes. Dragging an end onto another card does this too, and attaches it to the side you dropped on.
Group related activities
Some activities belong together conceptually — a series of validation steps, all the cleanup on error, a phased rollout. Wrap them in a Group: a labeled overlay around its members, visually bundling the steps. Groups survive when you zoom and collapse the flow — the grouping persists even when the view changes altitude. Name a group for what it does ("Validation", "Error recovery", "Setup").
All of a diagram's groups, in one list
Click empty canvas so nothing is selected, and the right pane shows the diagram's properties — including a Groups section listing every group on the board. This is the same list the C4 editor gives you for its boundaries, and it is where add, change and remove all live:
- Add group creates one and opens it, ready to be named.
- Each group is a shut row stating what it holds: its name, how many members, the display type styling it, and its tags. Click the row to open it and edit.
- The × on a row deletes that group. The lanes and activities inside it stay exactly where they are — a group is only a frame.
You can still open a single group by clicking its label on the canvas, which gives you the same fields plus tags and nesting.
On the canvas
- Click anywhere on the group's background — any empty space inside the frame — to select it. A selected group draws a brand-coloured border and a ring around it, whatever colour its display type gives it. The steps inside keep their own clicks: press one and you select the step, not the group.
- Double-click the background (or the label) to jump straight to the group's name field in the right pane.
- Drag the label to move the group — the grip beside the name is the handle, and the whole group's members travel with it. Dragging the background selects but does not move, so a group's worth of steps is never shifted by accident. Arrow keys nudge a selected group once it is selected.
Configuring a group
- Label — the text shown on the overlay border.
- Display type — style it using a C4 element type or one of your project's display types. It colours the frame and shows that type's icon on the label, exactly the way a C4 boundary is styled: pick a name once in Type & style settings and it reads the same on every diagram of every kind. A name your project no longer defines is called out in the form rather than silently ignored.
- Fill opacity — drag the slider (0–100%) to control how dark the background is. Lower opacity keeps activities visible; higher opacity emphasizes the boundary. Leave it alone and the group follows the project-wide boundary fill you set for C4.
- Member lanes and Member activities — add or remove elements from the group. A group can span multiple lanes or capture just a few steps in one lane.
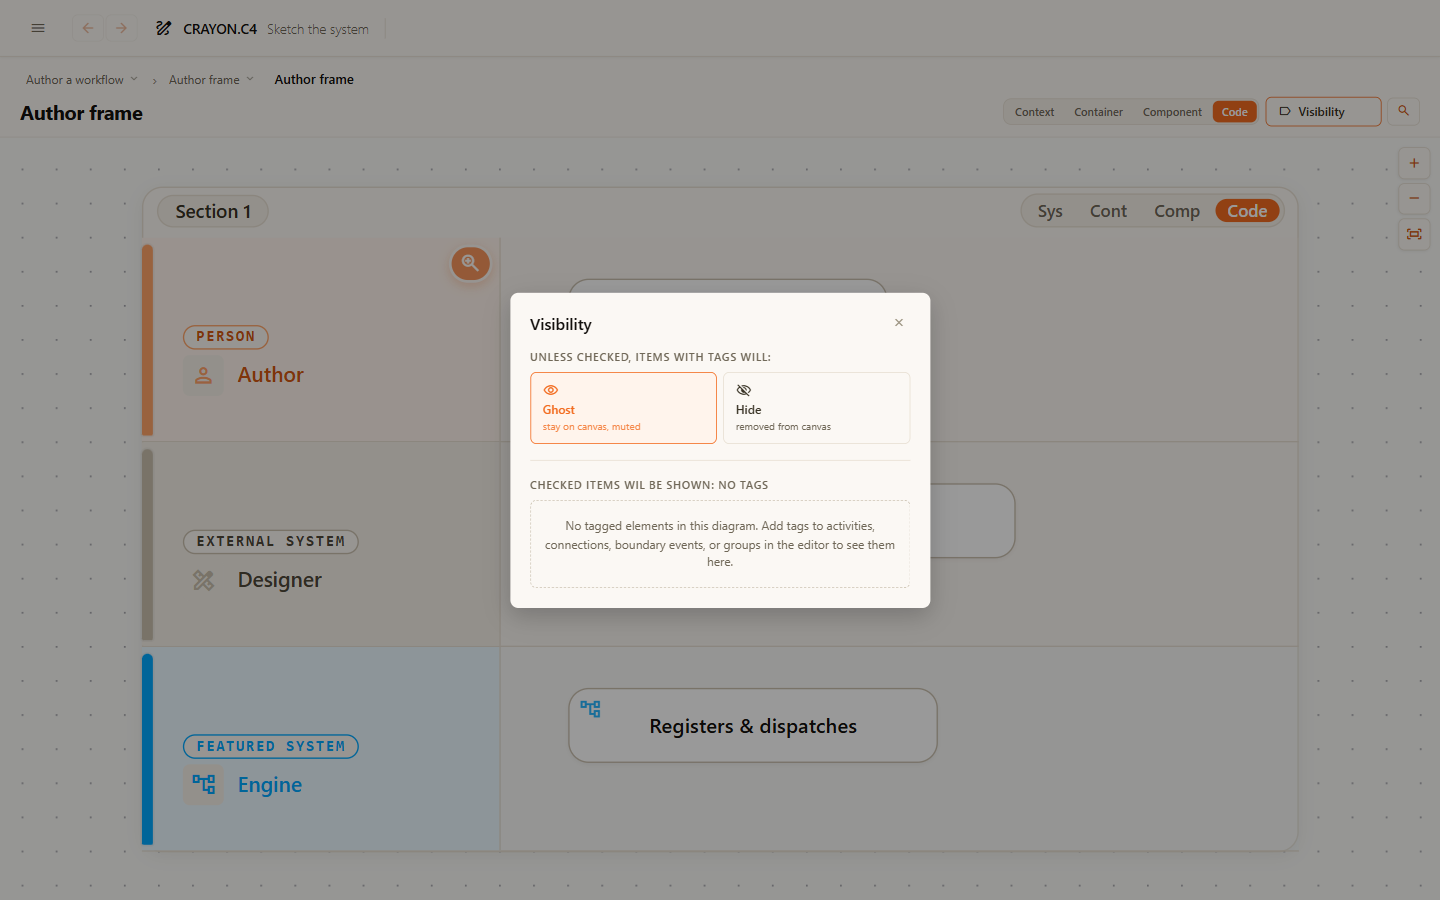
- Tags — a group is tagged like anything else on the board, and the Visibility panel treats it the same: an off-tag group is dimmed in Ghost mode and removed in Hide mode. In Hide mode the frame also shrinks to hug only the steps still on screen, so it never draws a box around nothing.
- Parent group — nest this group inside another group, creating visual hierarchy (e.g., a "Validation" group containing a "Format check" subgroup).
Groups are purely visual — they don't affect flow logic or connectivity, just how the diagram is read.
Order outgoing connections
When an activity sends to several next steps — the happy path, multiple error handlers, or parallel flows — you control the order they happen in. Select an activity and open its form: the Outgoing connections section lists every connection starting there, with up/down controls to reorder them.
The order is drawn on the card. Each departure carries a small number beside it — 1, 2, 3 — and lines leaving the same side spread out along it in that order, so no two start from the same point. Those numbers show on every level and in the viewer: the order is part of what the flow says, not an editing aid.
Which side each line leaves from is chosen for you: Auto takes the shortest route, attaching each end to the face its own card turns toward the other. You can pin a side per end in the connection's Sides control, or by dragging the line's end onto the side you want. See Flow tips & tricks.
Interruptions: boundary events
Something that can interrupt an activity while it runs — a timeout, an error, a cancellation — is a boundary event: a marker on the activity's edge with its own outgoing path. Use them for the "what if it doesn't go well" routes instead of weaving error paths through the happy path.
Event types
Five event types handle different interruption patterns:
| Type | Symbol | Use this when | Suggested tag |
|---|---|---|---|
| Timer | T | a timeout fires, a scheduled task triggers | #timeout |
| Error | E | an exception is caught | #error |
| Compensation | C | an earlier step needs undoing | #compensation |
| Signal | S | an external alert arrives | #unhappy |
| Message | M | another lane sends a message in | #unhappy |
Events are created without tags — the suggested tag is a convention you apply yourself in the event's form when you want its path gated by visibility.
Adding a boundary event
Select an activity, open its form, and scroll down to Boundary events. Click the +T, +E, +C, +S, or +M button to attach an event of that type. Every boundary event gets a Title (optional; shows as a label on the marker), a Type (the five above), a Description, and Tags (to control visibility).
The event's tags determine when its exit path appears in the viewer. When you tag an event #timeout, that path only shows when the reader has the #timeout tag active in the Visibility panel.
Activating a marker in the viewer
In the viewer, hover over a boundary event marker (the small circle on the activity's edge) to see the event's title. Click the marker to toggle that event active, which shows its exit path. The Visibility panel in the toolbar carries the same event toggles — either control affects what you see on the canvas.
Activity data annotations
An activity can carry data annotations — short names of data elements (order ID, response code, session token) that flow in or out at that step. Open an activity's form and scroll to Data annotations to add them. Each annotation is a label (e.g. [order-id], [response]); display them to show what data moves between steps without cluttering the diagram.
Spotlight with tags
Give activities, lanes, connections and groups their own tags ("happy-path", "error-handling") in their forms. In the viewer, the Visibility panel lets readers spotlight chosen tags — ghosting the rest (dimmed) or hiding it. One flow, several readings.
Keep it disciplined
Swimlanes invite drawing every micro-step. Resist: model the steps that matter to the reader at this level, not every internal call. Detail that matters to fewer people belongs in a separate flow, linked from here (diagram links).
Where next
- Flow tips & tricks — the working habits: levels, line shaping, keyboard moves, reading aids.
- Link flows to your C4 model — bindings, zoom levels, cross-flow navigation.
- The F4 flow model — the ideas behind these mechanics.